A Sitecore Content Hub Administrator must demonstrate the ability to implement a new workflow (state flow) for any entity definition using the state flow manager. A workflow example is very valuable becasue you can touch a lot of Content Hub aspects.
Please remember the words and phrases that are bolded.
Define a workflow
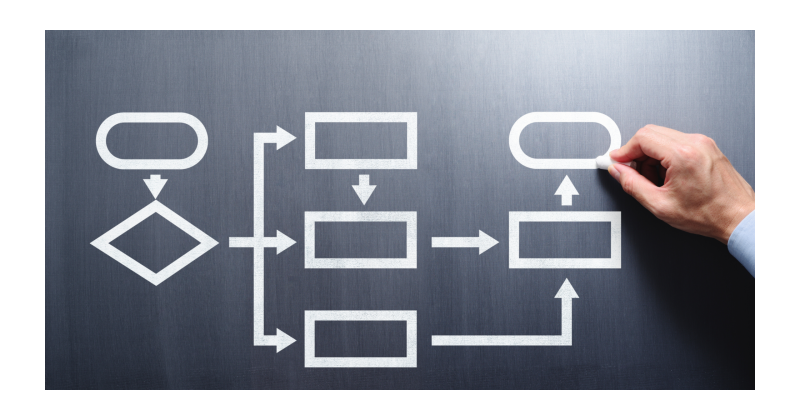
Before you configure the workflow in Content Hub is reasonable to define the workflow and specify the states and transitions. For example, you want to define a ‘Translation workflow’. In Sitecore Content Hub, we configure workflows as state flows. So it means that we need to define states (1,2,3,4) and transitions (A,B,C,D) between states. The image below shows the workflow that I want to configure in Content Hub.
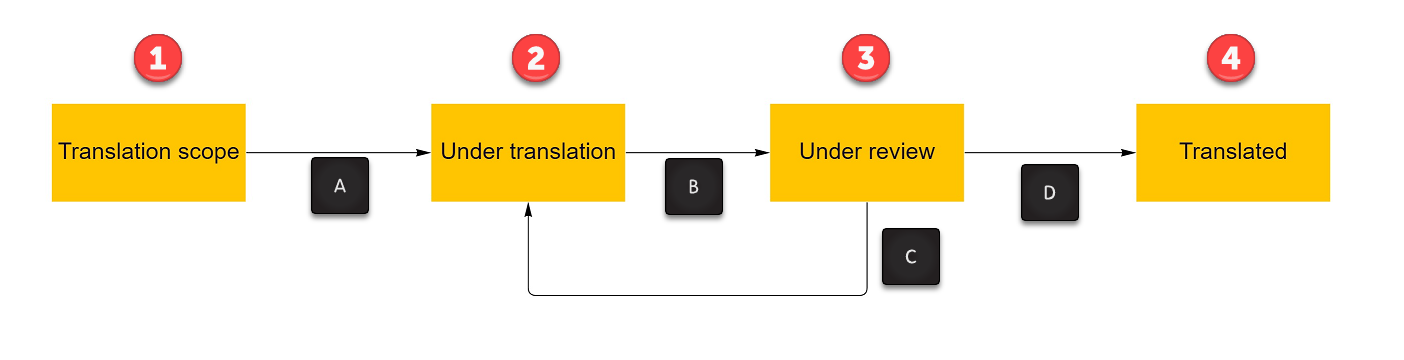
We need to define four states and four transitions between states based on the flow above.
- Translation scope – The first state is a translation scope where we define what and how should be translated
- Transition A – Once scope is defined, we want to ‘Send to translation ‘
- Under translation – The translation work is performed
- Transition B – When content or asset is translated, we want to ‘Send to review’
- Under review – Reviewer is verifying the translation and takes a decision
- Transition C – Translation need to be corrected – Reject translation
- Transition B – Everything is fine – Approve translation
- Translated – the final state. The translation is done.
Workflow prerequisites
Before you start configuring the workflow, you must complete the following steps:
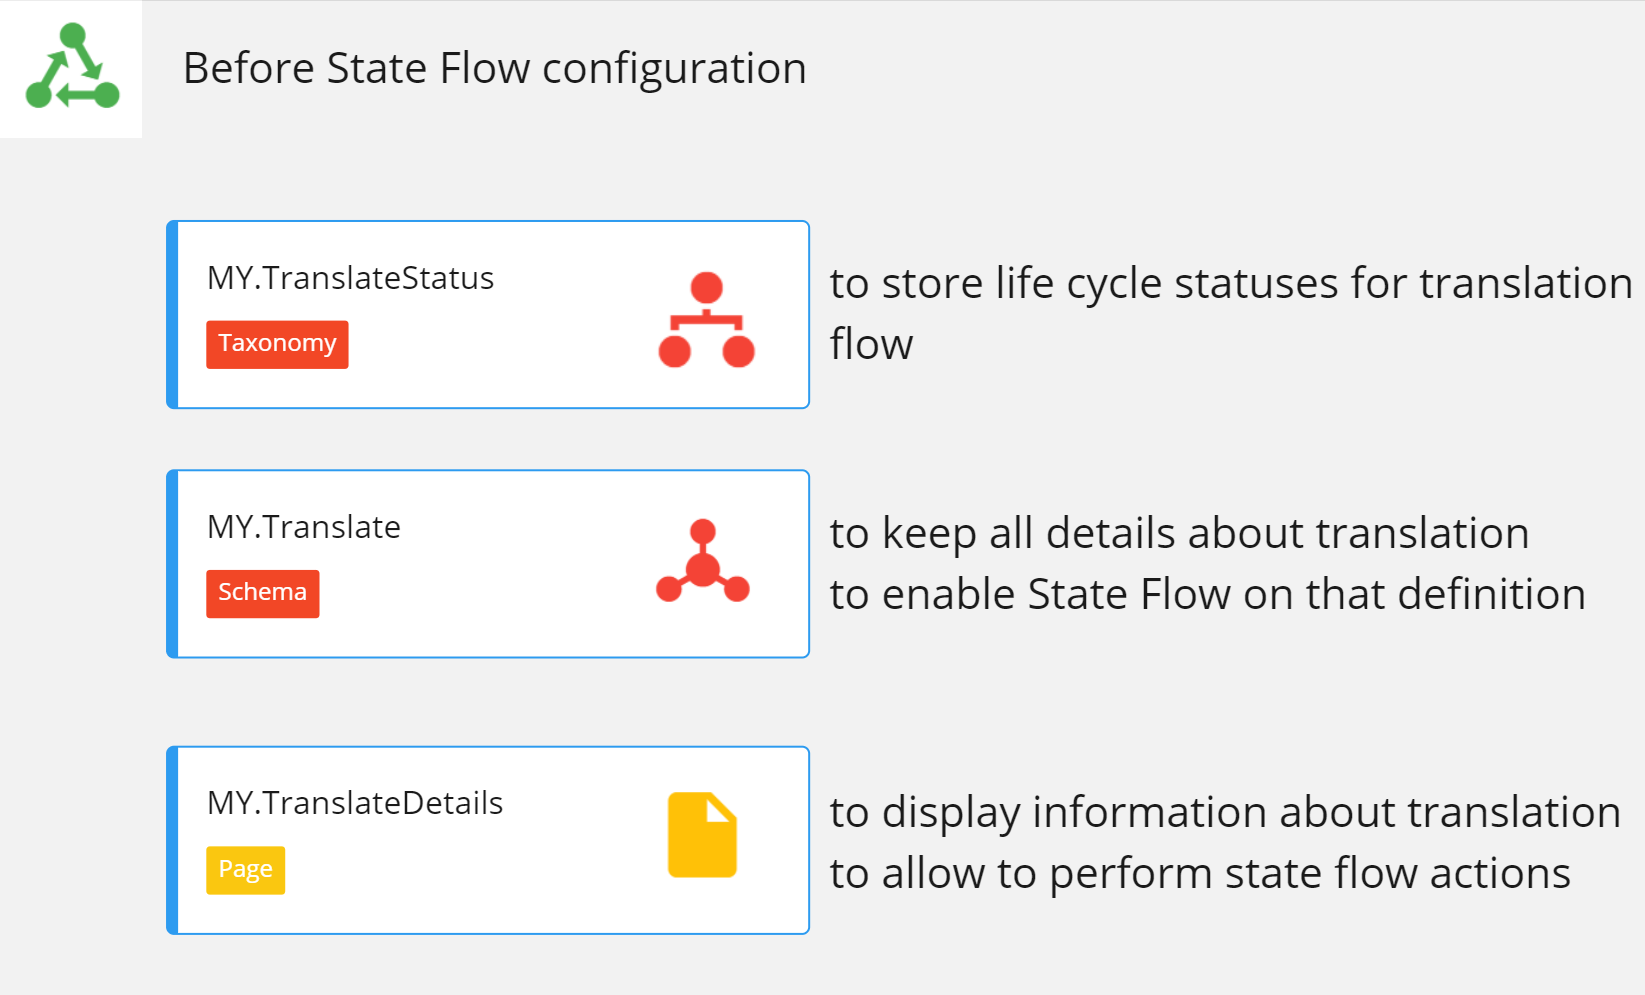
Create a taxonomy for life cycle statues.
You will need a taxonomy that stores the life cycle statuses.
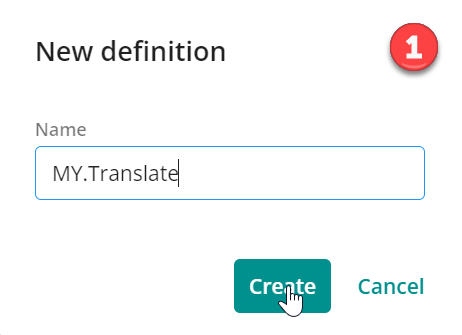
When creating a new taxonomy or schema definition, please always use the prefix to distinguish system definitions from the custom ones. During this article I will use prefix MY.
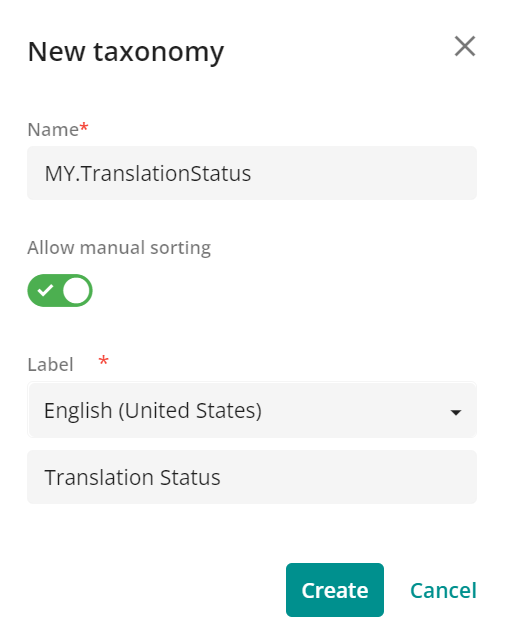
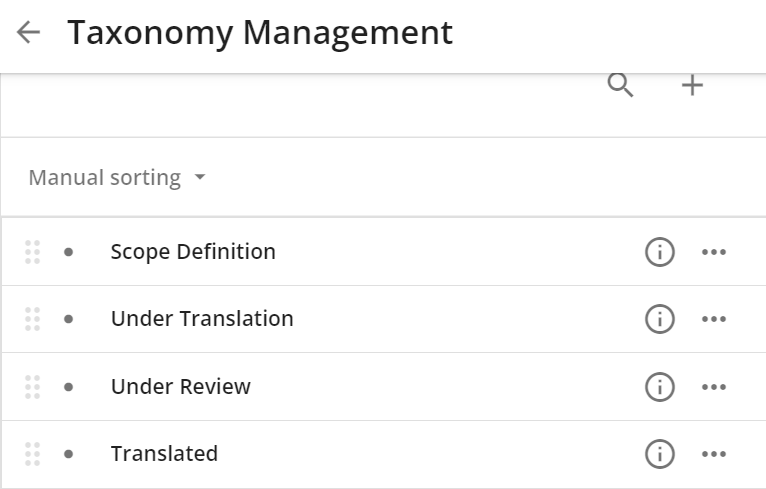
When you define taxonomies for a life cycle, statuses will be good to sort them manually, not automatically by name. Later it will help you properly configure state flow because you don’t need to remember the proper state order.
Next, you can add our statuses. And set them in proper order. Finally, it should look like this on the screen below.
Schema definition for a custom state flow
Workflow is always connected with a schema definition. For example, for Translation workflow, you have to create an ‘MY.Translate’ schema definition.
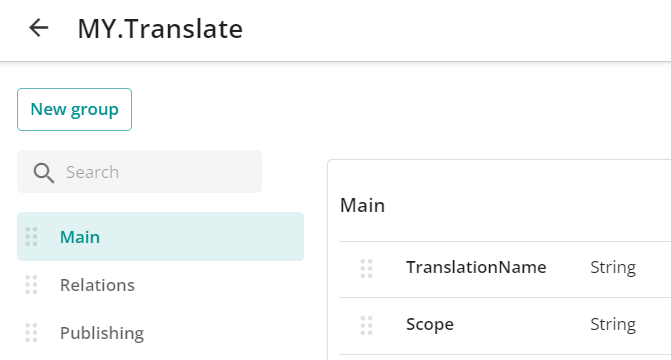
Next, you should define new groups, properties, and relations to store information about the translation process. For now, you will add only properties required to configure the workflow. Later, you can extend a definition with additional properties necessary in the translation process.
You should create the group with the name Main and add properties TranslationName and TranslationScope. TranslationName will be used as the entity’s name, and TranslationScope will be a multiline field to define what and how to be translated.
Next, you probably will want to add TranslationLanguage, TranslationDueDate, etc., to fill the entity with all relevant information.
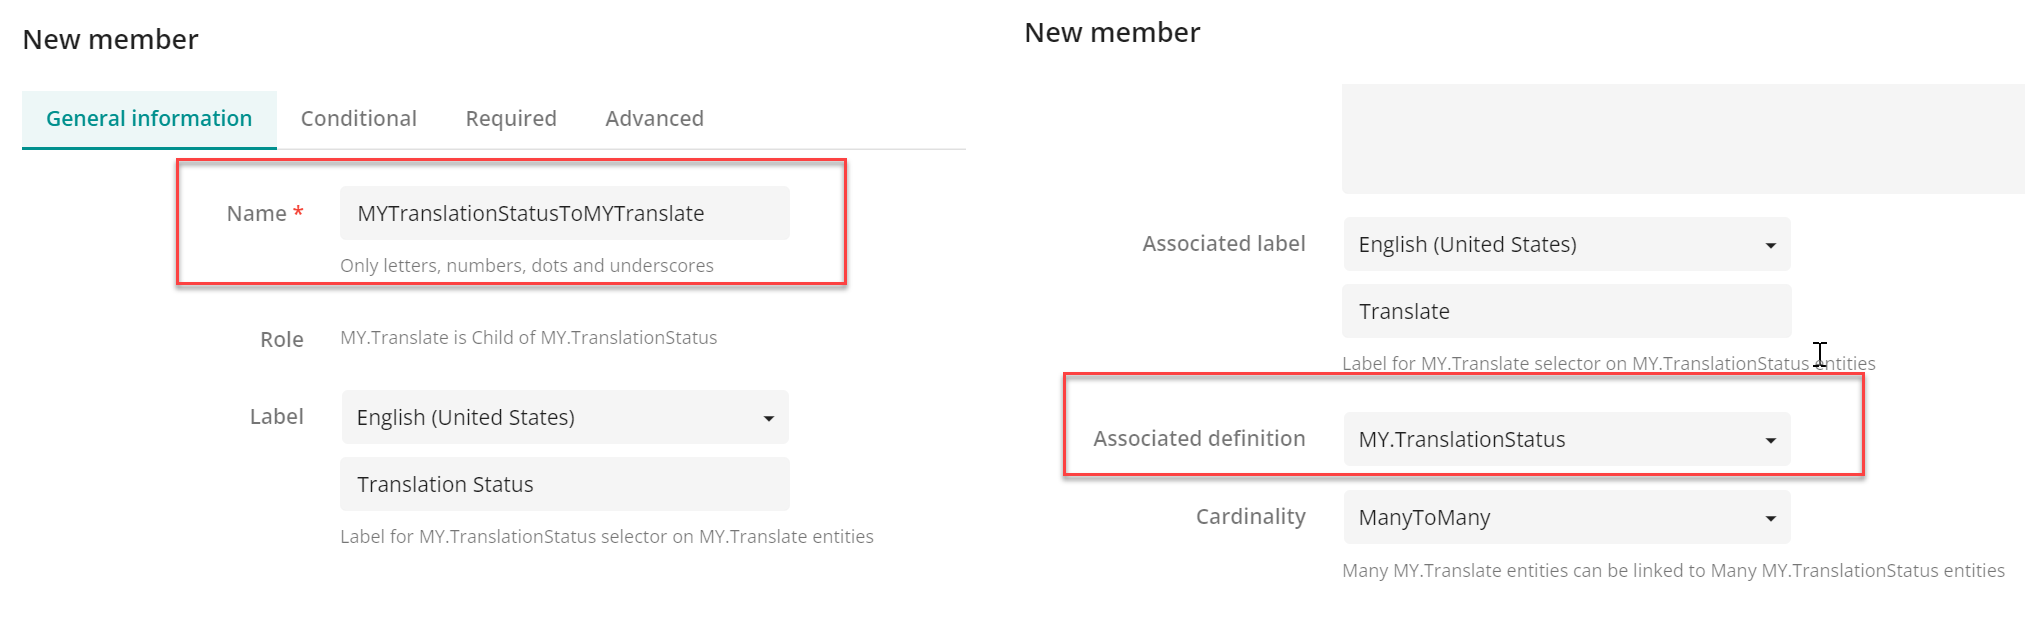
You should create the group with the name Relations. Here you will keep all relations between My.Translate and other entities and taxonomies.
First, we need to create a taxonomy relation between MY.TranslationStatus and MY.Translate. We always name relation in parent to child convention – MYTranslationStatusToMYTranslate. Next, you should choose a proper associated definition – MY.TranslationStatus and cardinality ManyToMany.
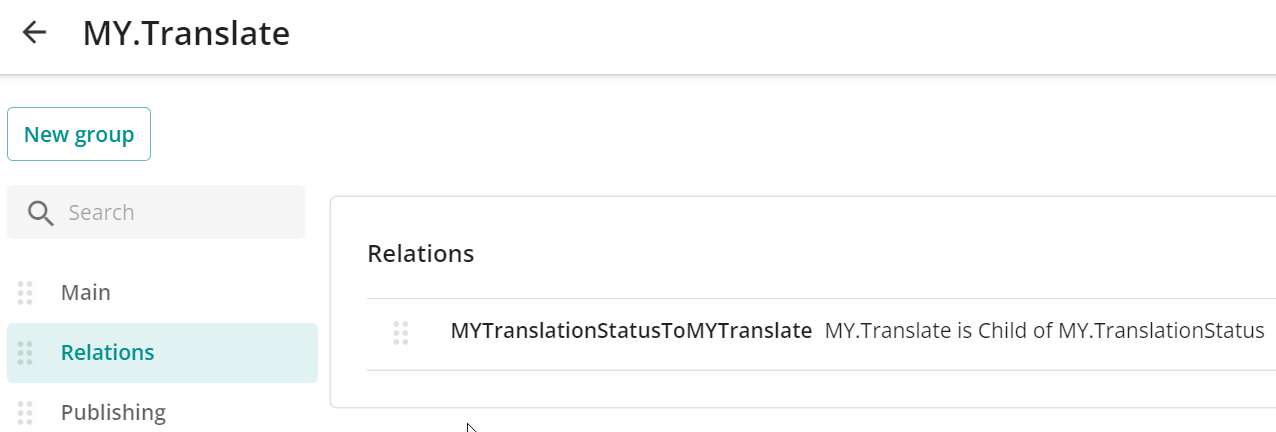
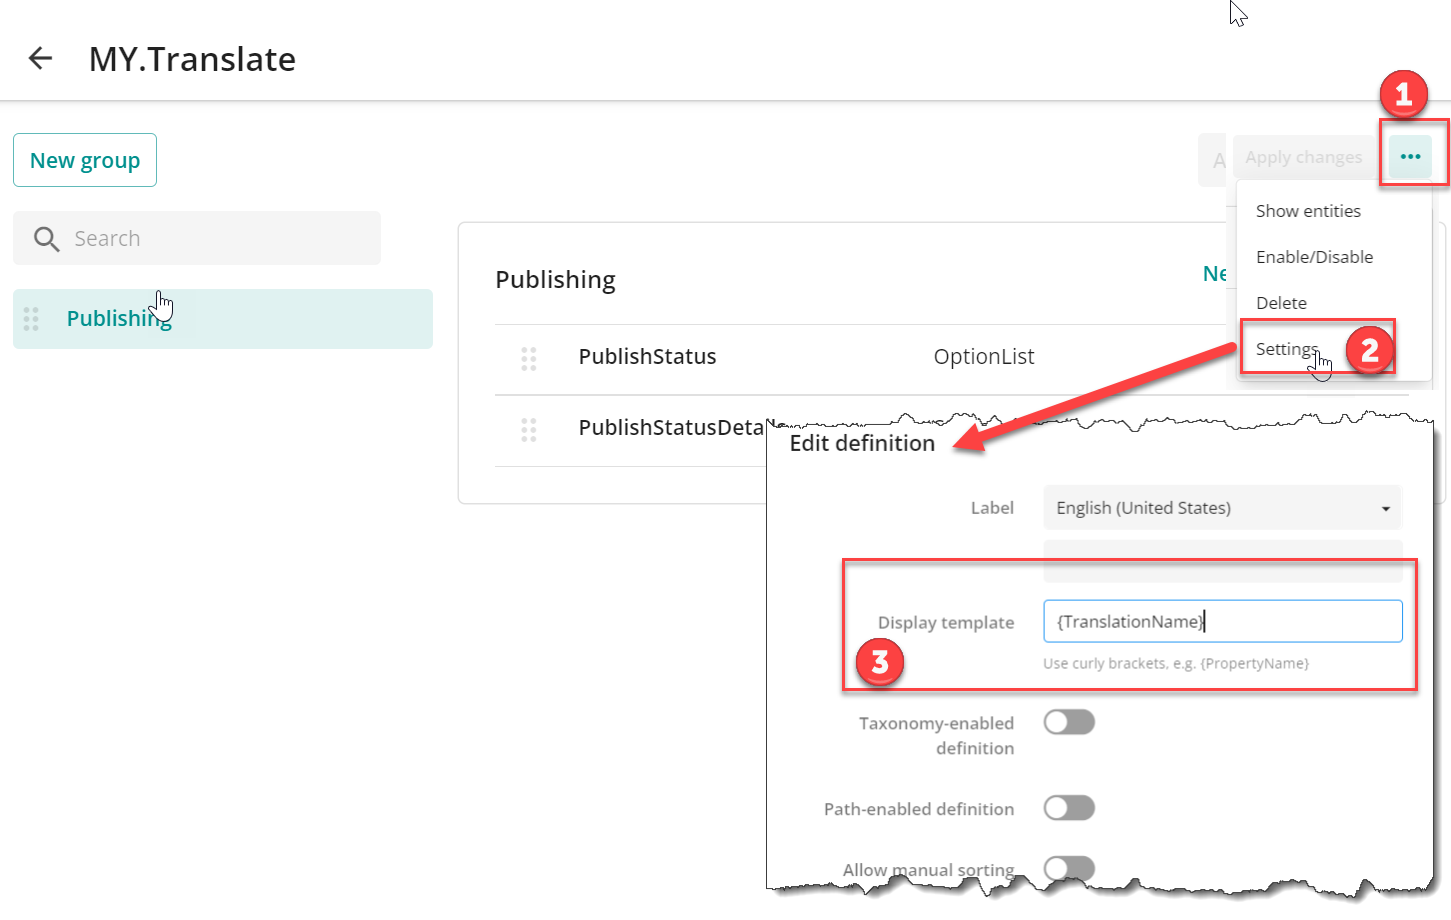
At the end, please remember to configure a display template; otherwise, you will get an error when you want to save a definition.
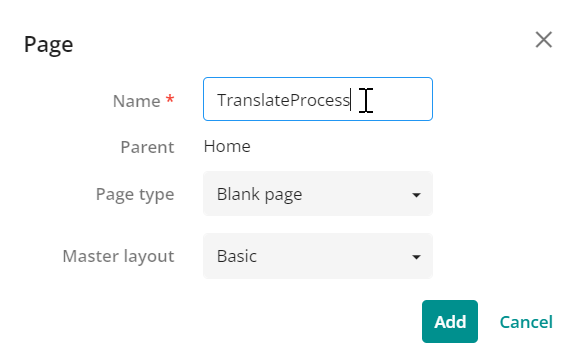
Create a detail page
To enable a workflow on definition, we have to specify a detail page. This detail page is used as the destination page for the links in email and real-time notifications and the target links in the target search page. So, I will just create an empty detail page to meet the requirements needed to enable the workflow. We will fill the page with relevant data later (in the next post)
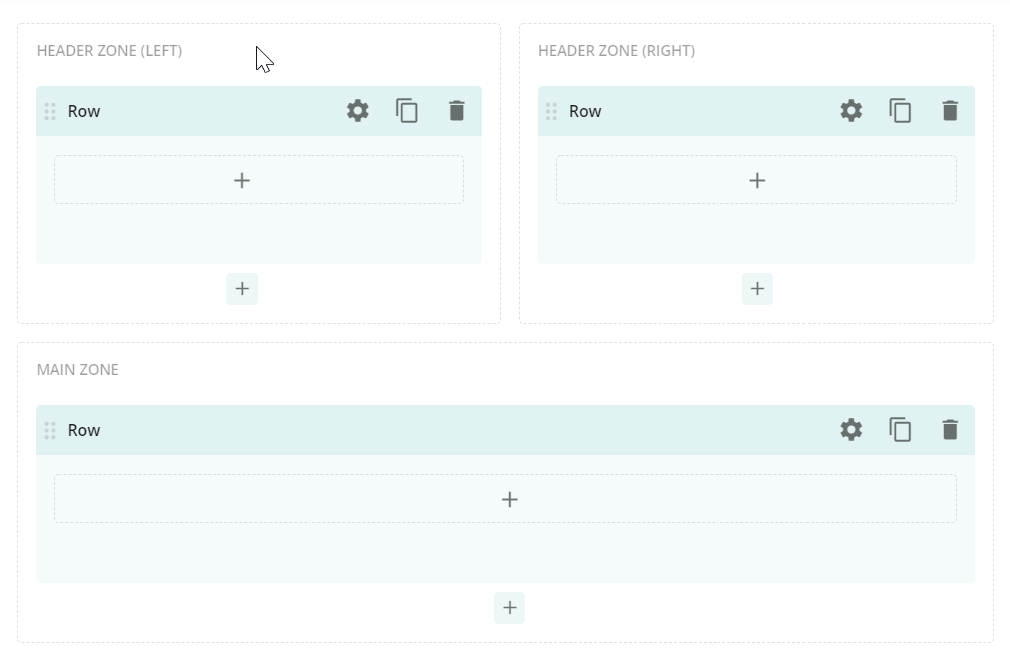
Go to administrator panel, choose Pages and then add an empty page:
Enable the workflow
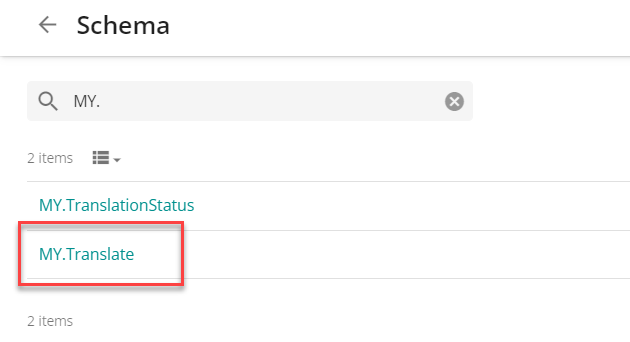
Finally, you did a lot, and you can enable a state flow. First find MY.Translate definition in the Schema page.
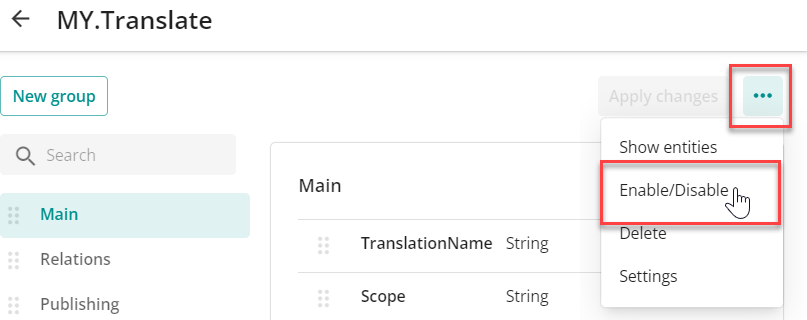
Next from the Action menu, choose Enable/Disable
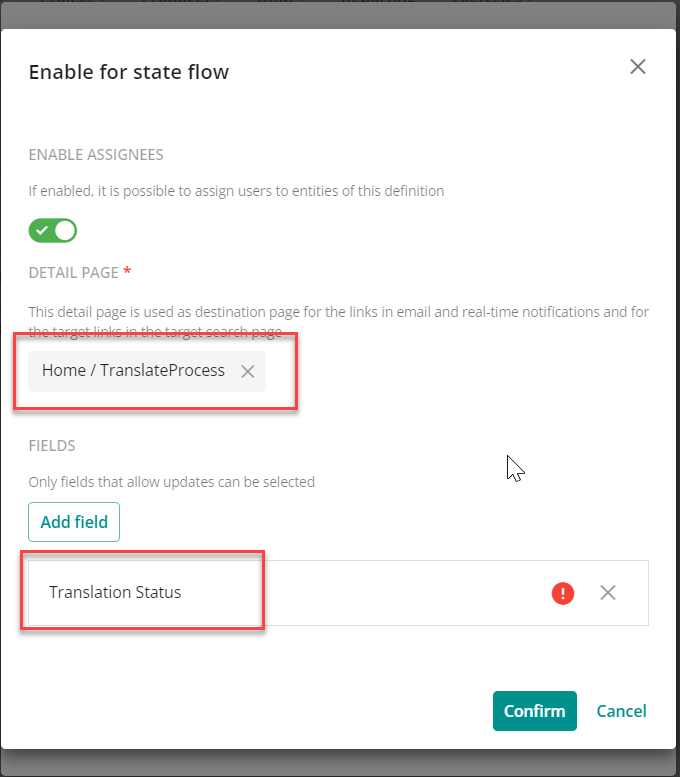
You need to choose your TranslateProcess page as Detail Page.
Next you need to specify a field that will be modified during going thru workflow states. Now it will be only Translation Status. Confirm, and that’s it. Done.
As you can see in the video below, new system properties have been automatically added to the definition. And here we end our activity. Let’s rest for a while. We will configure state flow in the next post and add the missing components to the TranslationProces page.
What did you learn
To build a state flow, you need to create/define:
- states and transitions between states
- a taxonomy to store life cycle states. It would be best if you manually sorted states.
- a schema definition to enable state flow on that definition
- a state flow details page
